 Yet another magical sweet greets us today:
"Creamy chunks of nougat, shimmering pink squares of coconut ice, fat, honey-colored toffees; hundreds of different kinds of chocolate in neat rows; there was a large barrel of Every Flavor Beans, and another of Fizzing Whizbees, the levitating sherbert balls that Ron had mentioned; along yet another wall were "Special Effects" sweets: Droobles Best Blowing Gum (which filled a room with bluebell-colored bubbles that refused to pop for days), the strange, splintery Toothflossing Stringmints, tiny black Pepper Imps ('breathe fire for your friends!'), Ice Mice ('hear your teeth chatter and squeak!'), peppermint creams shaped like toads ('hop realistically in the stomach!') fragile sugar-spun quills, and exploding bonbons" (Prisoner of Azkaban 197).
I've made Ice Mice once before, and my skills at sugar sculpting are sadly lacking. Making them however, reminds me of one of my favorite attractions at Disney's Epcot: the Japanese sugar sculpting Lady! (seriously, watch that video, she's amazing, and I have the most glorious memories of watching her while I lived there). But alas, I am not a Japanese professional candy-sculptor. So you just have to deal with the sad little mice I make with Dinah Bucholz' sugar mice recipe from The Unofficial Harry Potter Cookbook.
You Will Need (I halved this recipe):
3/4 stick (6Tbs) unsalted butter, at room temperature
1/4 cup light corn syrup
1/2 tsp vanilla
3 cups confectioner's sugar, sifted

1. Combine the butter, corn syrup, and vanilla and beat until thoroughly combined.

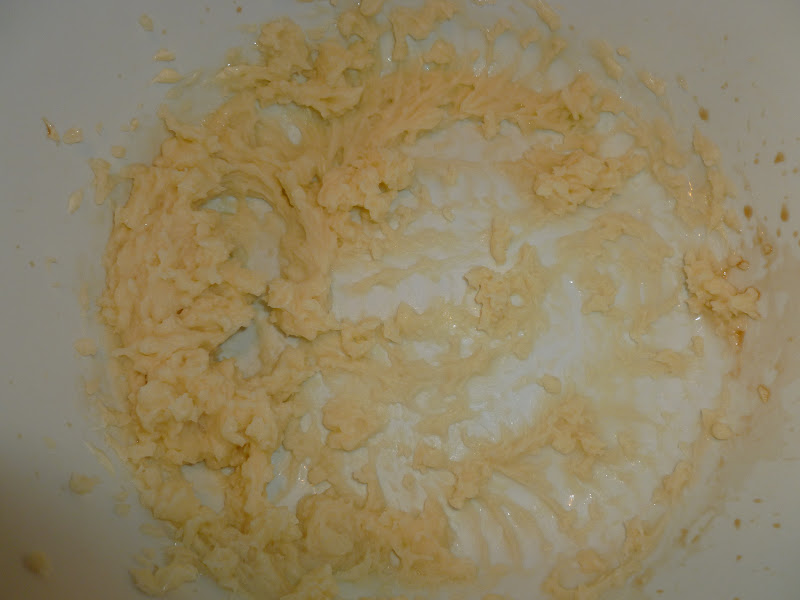
2. Add the confectioner's sugar slowly, while beating on the slowest speed, until it forms a dough-like consistency. If the dough seems too wet or sticky, add 1Tbs of confectioner's sugar at a time.


3. Wrap the fondant in plastic wrap and refrigerate until ready to use. It will keep for up to 6 weeks.
4. To form the mice, pinch a piece of fondant off the ball, roll into a body, add a head, pinch little ears, etc. Basically we're sculpting with sugar :) If you'd like, use a toothpick to make eyes, and a piece of licorice for a tail :) Repeat, repeat, repeat.


5. Place the mice on parchment paper and leave them out overnight to dry (except that mine have always melted... so maybe let them dry in the fridge).


If you make your dough dense enough (keep adding powdered sugar), these should turn out pretty adorable. My dough always ends up pretty sticky... I can literally form one mouse before I have to put the dough back in the fridge to firm up again. But if you're successful, they turn out pretty cute! Eating one is about all I can handle, since, as you may have noticed, they're basically just sugar! But that one is pretty tasty! So enjoy!

No comments:
Post a Comment